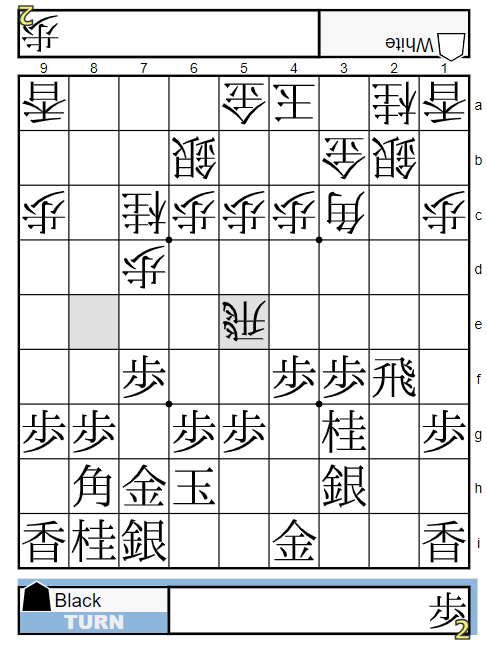
Shogi game explained.
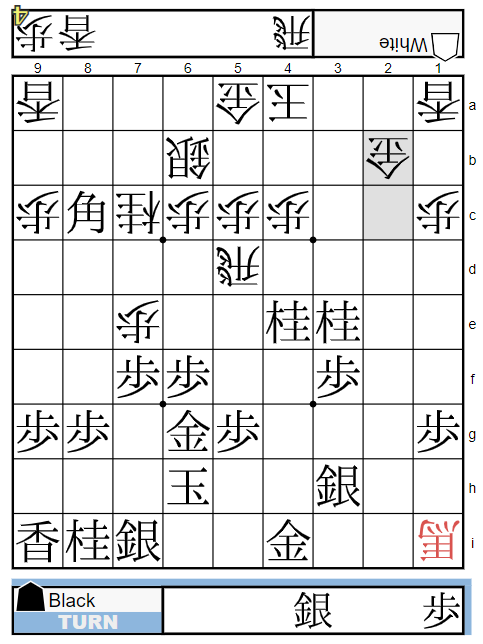
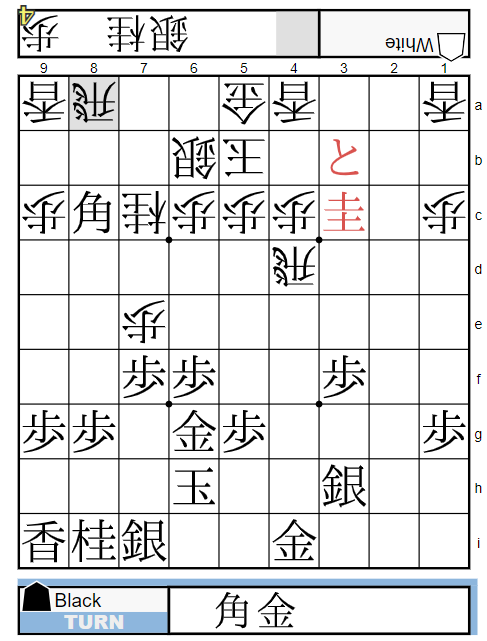
(Text moves) 1.P7f 2.P3d 3.P2f 4.P8d 5.P2e 6.P8e 7.G7h 8.G3b
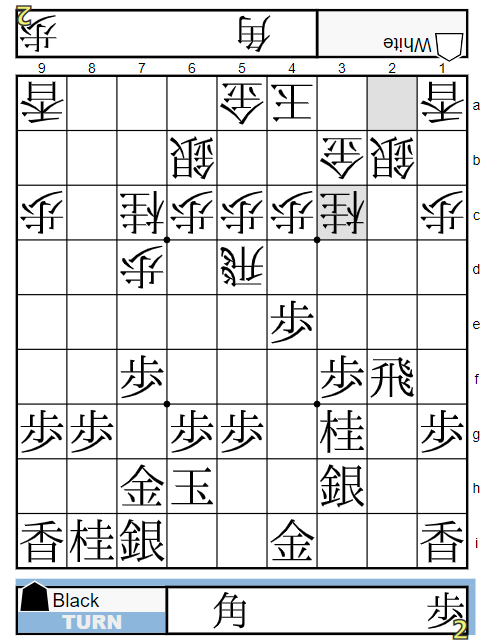
(Text moves) 9.P2d 10.Px2d 11.Rx2d 12.P8f 13.Px8f 14.Rx8f 15.Rx3d 16.B3c
Side Pawn Picker opening
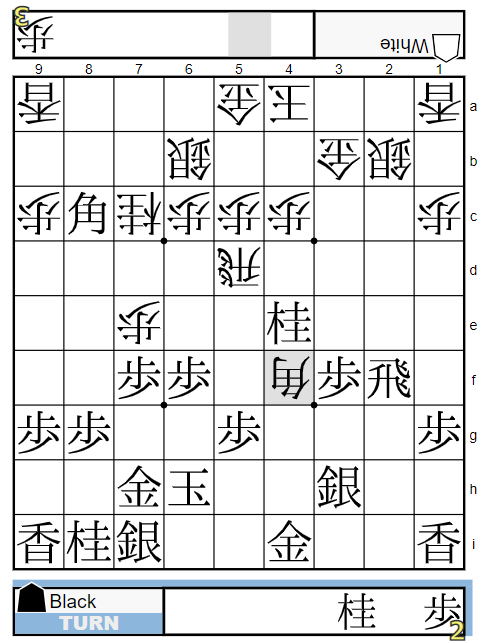
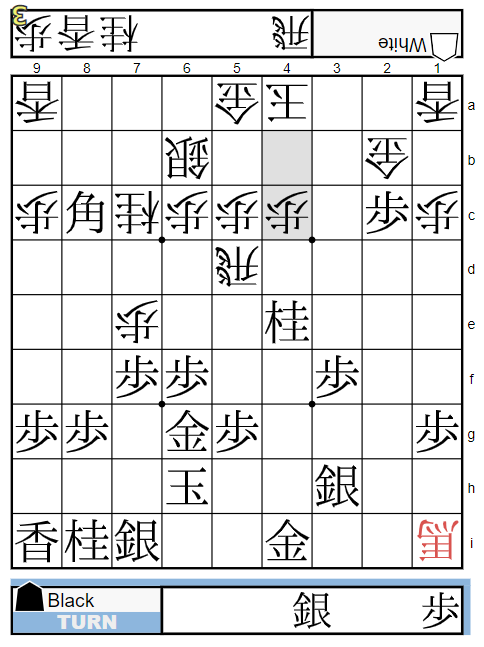
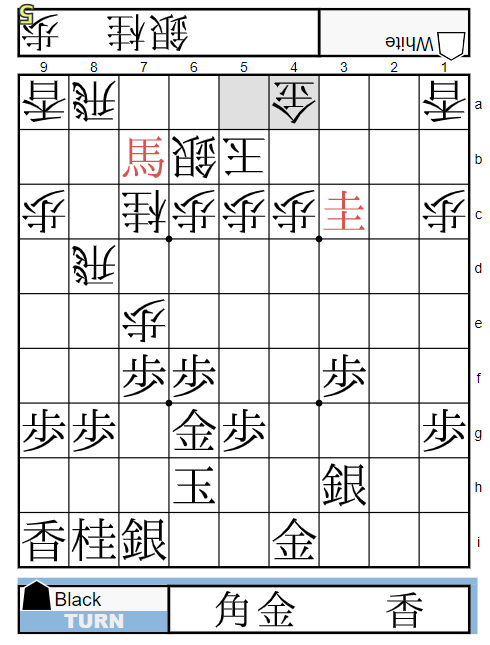
(Text moves) 17.R3f 18.S2b 19.P*8g 20.R8e 21.R2f 22.K4a
20.R8e: it hasn’t been played well these days among professional players.
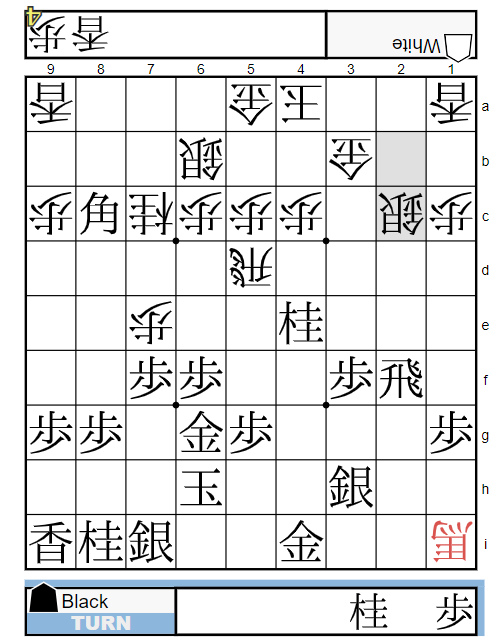
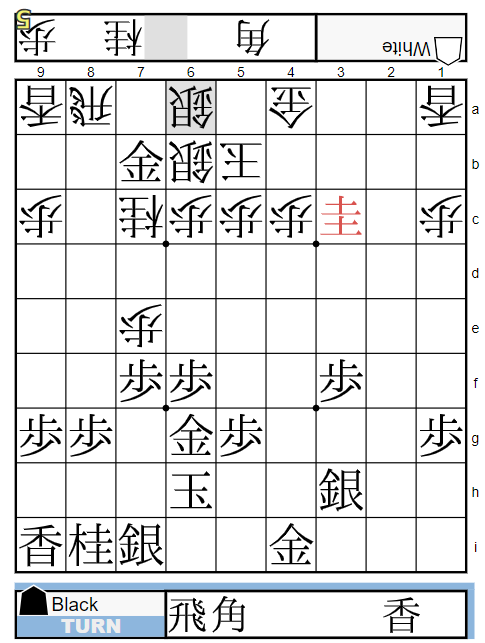
(Text moves) 23.K6h 24.S6b 25.S3h 26.G5a 27.P3f 28.P7d

both sides develop pieces.
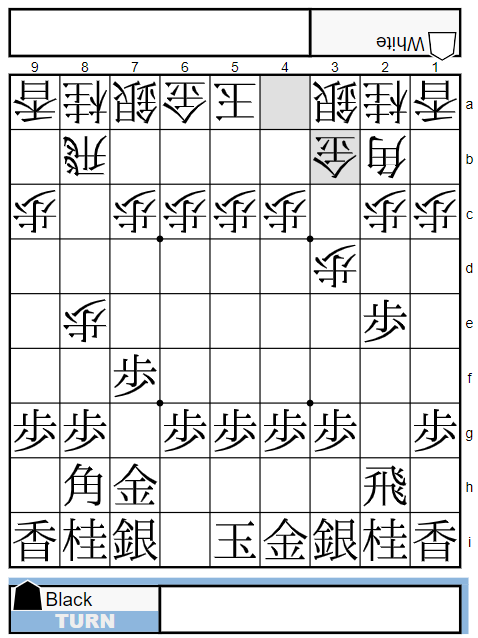
(Text moves) 29.N3g 30.N7c 31.P4f 32.R5e
32.R5e: dynamic move. if Black plays 33.Bx5e, White will play 34.Bx5e and then 35.N7g 36.P7e(35.S8h 36.B*4d) other candidate moves for Black are 32.P*8f and 32.P7e.
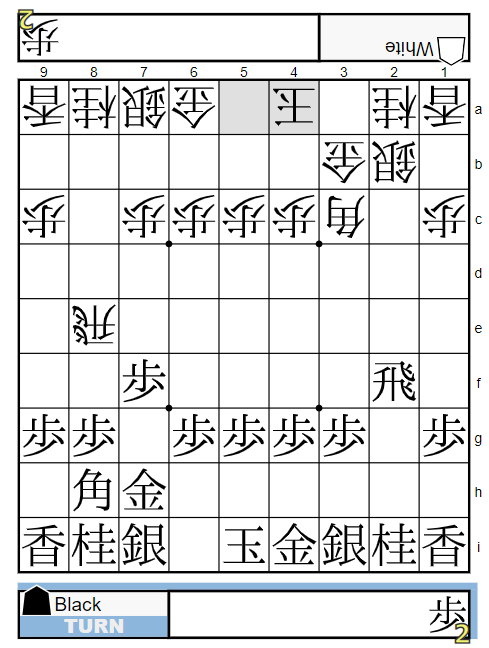
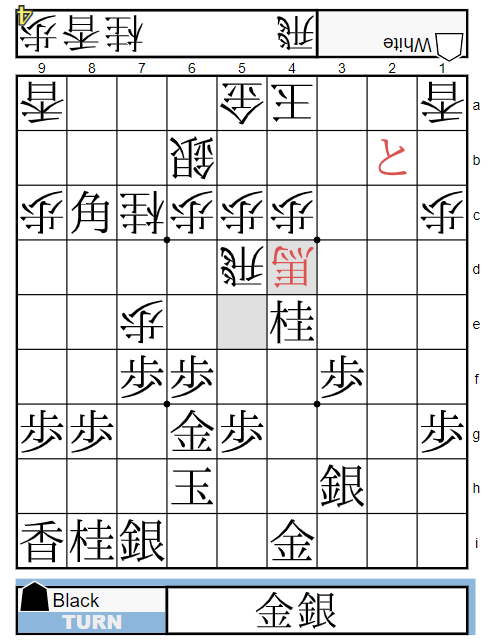
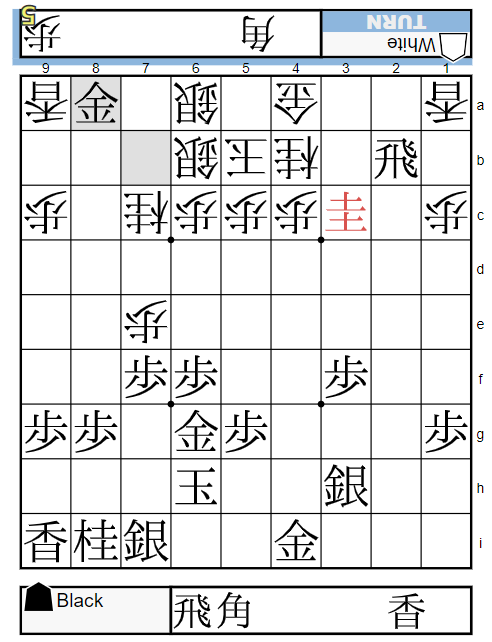
(Text moves) 33.P4e 34.R5d 35.Bx3c+ 36.Nx3c
33.P4e: threatens N2e. 33.G5h is possible.
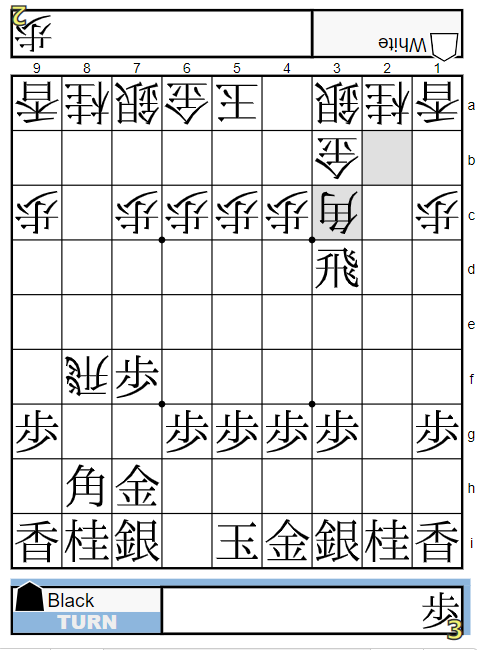
(Text moves) 37.P6f 38.P7e

37.P6f: it prevents N6e and defends diagonal for White to put the Bishop in hand at some point.
(Text moves) 39.B*8c 40.Nx4e 41.Nx4e 42.B*4f
(Text moves) 43.G6g 44.Bx1i+ 45.P*2c 46.Sx2c
43.G6g: 43.G5h is possible.
46.Sx2c: 46.S3a is better.
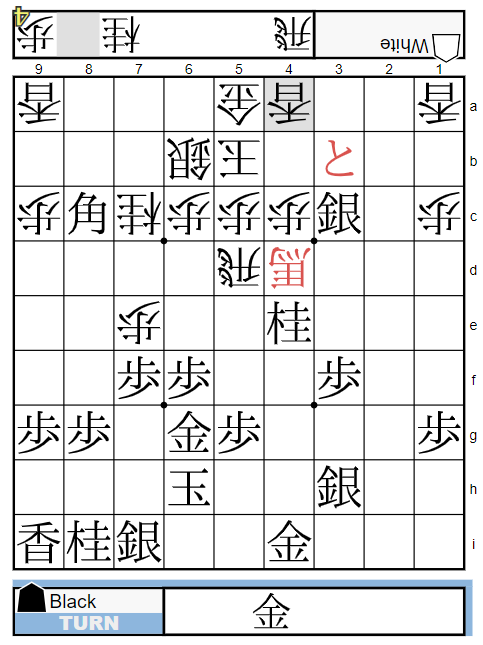
(Text moves) 47.Rx2c+ 48.Gx2c 49.N*3e 50.G2b
47.Rx2c+: it’s a chance to attack White because Black King is secure temporarily and the promoted Bishop on 1i is kind of out of play.
(Text moves) 51.Nx4c+ 52.P*4b 53.P*2c 54.Px4c
53.P*2c: pawn tactic. White can’t play 56.Gx2c because of 57.S*3b. White also can’t play 56.G2a because of 57.N3c.
(Text moves) 55.Px2b+ 56.+B5e 57.P*4d 58.+Bx4d
57.P*4d: good move.
(Text moves) 59.S*3c 60.K5b 61.+P3b 62.L*4a
59.S*3c: attacks the promoted Bishop on 4d and threatens +p3b K5b G*4b.
(Text moves) 63.Sx4d+ 64.Rx4d 65.N3c+ 66.R*8a
65.N3c+: threatens B*6a Gx6a G*4b
(Text moves) 67.B7b+ 68.R4d-8d 69.+Px4a 70.Gx4a
67.B7b+: attacking from both sides is very strong.
(Text moves) 71.+Bx8a 72.Rx8a 73.G*7b 74.S*6a
74.S*6a: White deserts the Rook.
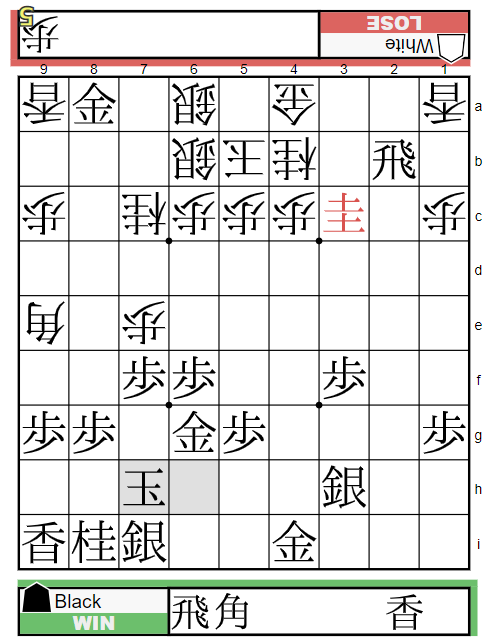
(Text moves) 75.R*2b 76.N*4b 77.Gx8a
77.Gx8a: there is no hope for White
(Text moves) 78.B*9e 79.K7h resign